
Haskell + XCode with Obelisk 🤝

We typically build our full-stack applications with Obelisk, which gives us the ability to share code across the frontend and backend. Obelisk uses Nix for dependency management and deployments. This works great when you're deploying to targets that you completely control (e.g., a server). But some target environments are a little trickier...
We've found that the easiest way to build for iOS and deploy things via TestFlight and the app store is to do most of the build with Nix and use XCode for last-mile configuration, signing, and deployment. We'll explain how in this post.
Haskell Frontend -> Static Library
First, we'll need to turn our Haskell frontend into a library that can be used in an XCode project. The obelisk-ios-libfrontend project is designed to do exactly that. At its core, it uses GHC's -static-lib option to compile to a static library, but there's a little more to it than that.
obelisk-ios-libfrontend provides two things: a shim to actually run your frontend on an iOS device (this is the entry point for the static library) and a library that allows you to provide some iOS-specific application configuration.
You can add both to your Obelisk project's package set as follows:
obelisk-ios-libfrontend = haskellLib.dontStrip (self.callCabal2nix "obelisk-ios-libfrontend" (hackGet ./dep/obelisk-ios-libfrontend + "/exe") {});

obelisk-ios-libfrontendconfig = self.callCabal2nix "obelisk-ios-libfrontendconfig" (hackGet ./dep/obelisk-ios-libfrontend + "/lib") {};
Your Obelisk frontend can now import the Obelisk.Frontend.iOS module, which allows you to define a configuration object that the obelisk-ios-libfrontend executable will look for. The type of this configuration is:
data IosConfig route = IosConfig
  { _iosConfig_frontend :: Maybe Webview -> Frontend route
  , _iosConfig_initialHtml :: ByteString
  }
iOS-specific configuration
The first configuration option _iosConfig_frontend allows you to specify your frontend application's entrypoint. It provides you a WebView object, in case your application needs to make use of that for more complex platform-specific functionality. It can be safely ignored if you don't need it.
The second option, _iosConfig_initialHtml allows you to set the raw HTML that will be injected into the WebView at initialization. This is useful for setting things like background colors or statically rendered elements. It's a good idea to make sure the <head> tag is statically rendered to ensure that your JS dependencies are loaded as early as possible. For example:
iosConfig :: IO (IosConfig (R FrontendRoute))
iosConfig = do
  html <- fmap snd $ renderStatic $ myHtmlHead
  pure $ IosConfig (\_ -> frontend) $ mconcat
    [ "<!DOCTYPE html><html><head>"
    , html
    , "</head><body></body></html>"
    ]
Once we've created this iOS configuration, we can build the frontend library:
nix-build . -A ghcIosAarch64.obelisk-ios-libfrontend --argstr system "x86_64-darwin"Creating an XCode Project
The static library we just created can be added to an XCode project, but since we do this so often, we've automated the process. obelisk-ios-xcode is a nix project that produces a minimal XCode project based on your Obelisk project.
obelisk-ios-xcode gives you some control over the XCode project that it will generate, including settings like supported orientations, supported device types, and so on. The readme has instructions on how to add obelisk-ios-xcode to your obelisk project.
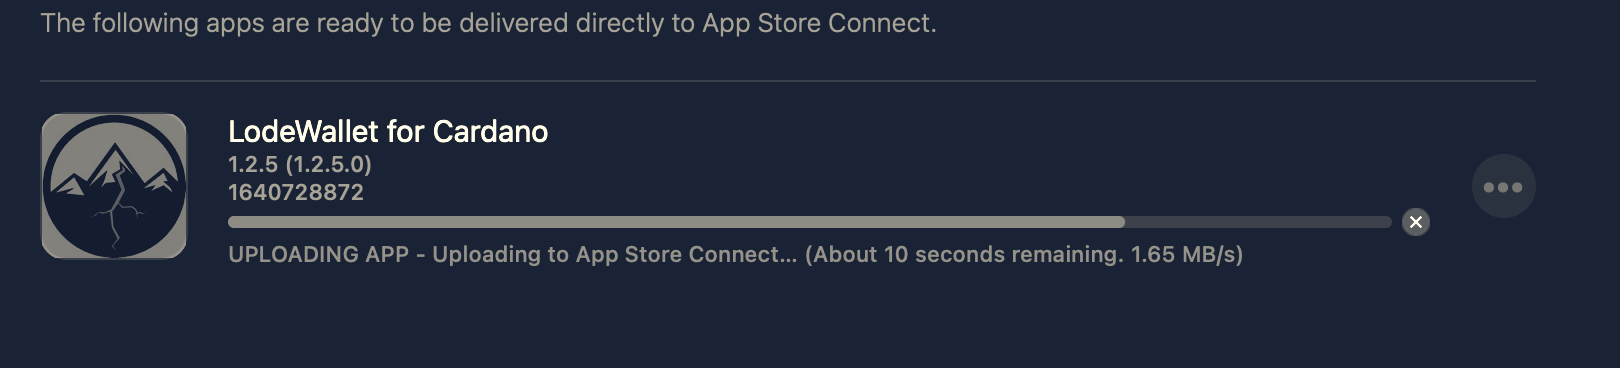
If you follow those instructions, running nix-build -A xcode will produce an XCode project source tree. You can open that with XCode and from there you can modify the configuration (though we recommend you keep those config changes in your obelisk nix file, so that they're tracked), build for specific devices, and perform ad-hoc, TestFlight, and production deployments. 📱